SS

SS

Monday, December 16, 2013

More In Miniature

  A long time friend Billie Campbell asked if I was up to a challenge?  As an artist these words are like sultry sirens beckoning!!  Why sure I said!! (before I new the whole scope).  Billie replies; can you make this little one look like a "mini me" to her biggie custom resin Extreme Justice 1?   Fun Challenge* :D
From the start I new this little resin sculpture WeeJay by Sommer Prosser was going to be tricky with matched detail and then some. 
Over time and lots of strained eye focus and cramped fingers {:)} this little weej was completed!!!
 
This is a photo Journal of  tiny weej in progress*
Finished Custom WeeJ, ready for Artist Paint.

Penciled in the where the tiny custom braids are to be placed.

 The beginnings of sculpting the tiny braids.

 Forelock sculpted on. Plus some fine carving & sculpting of absent face features.

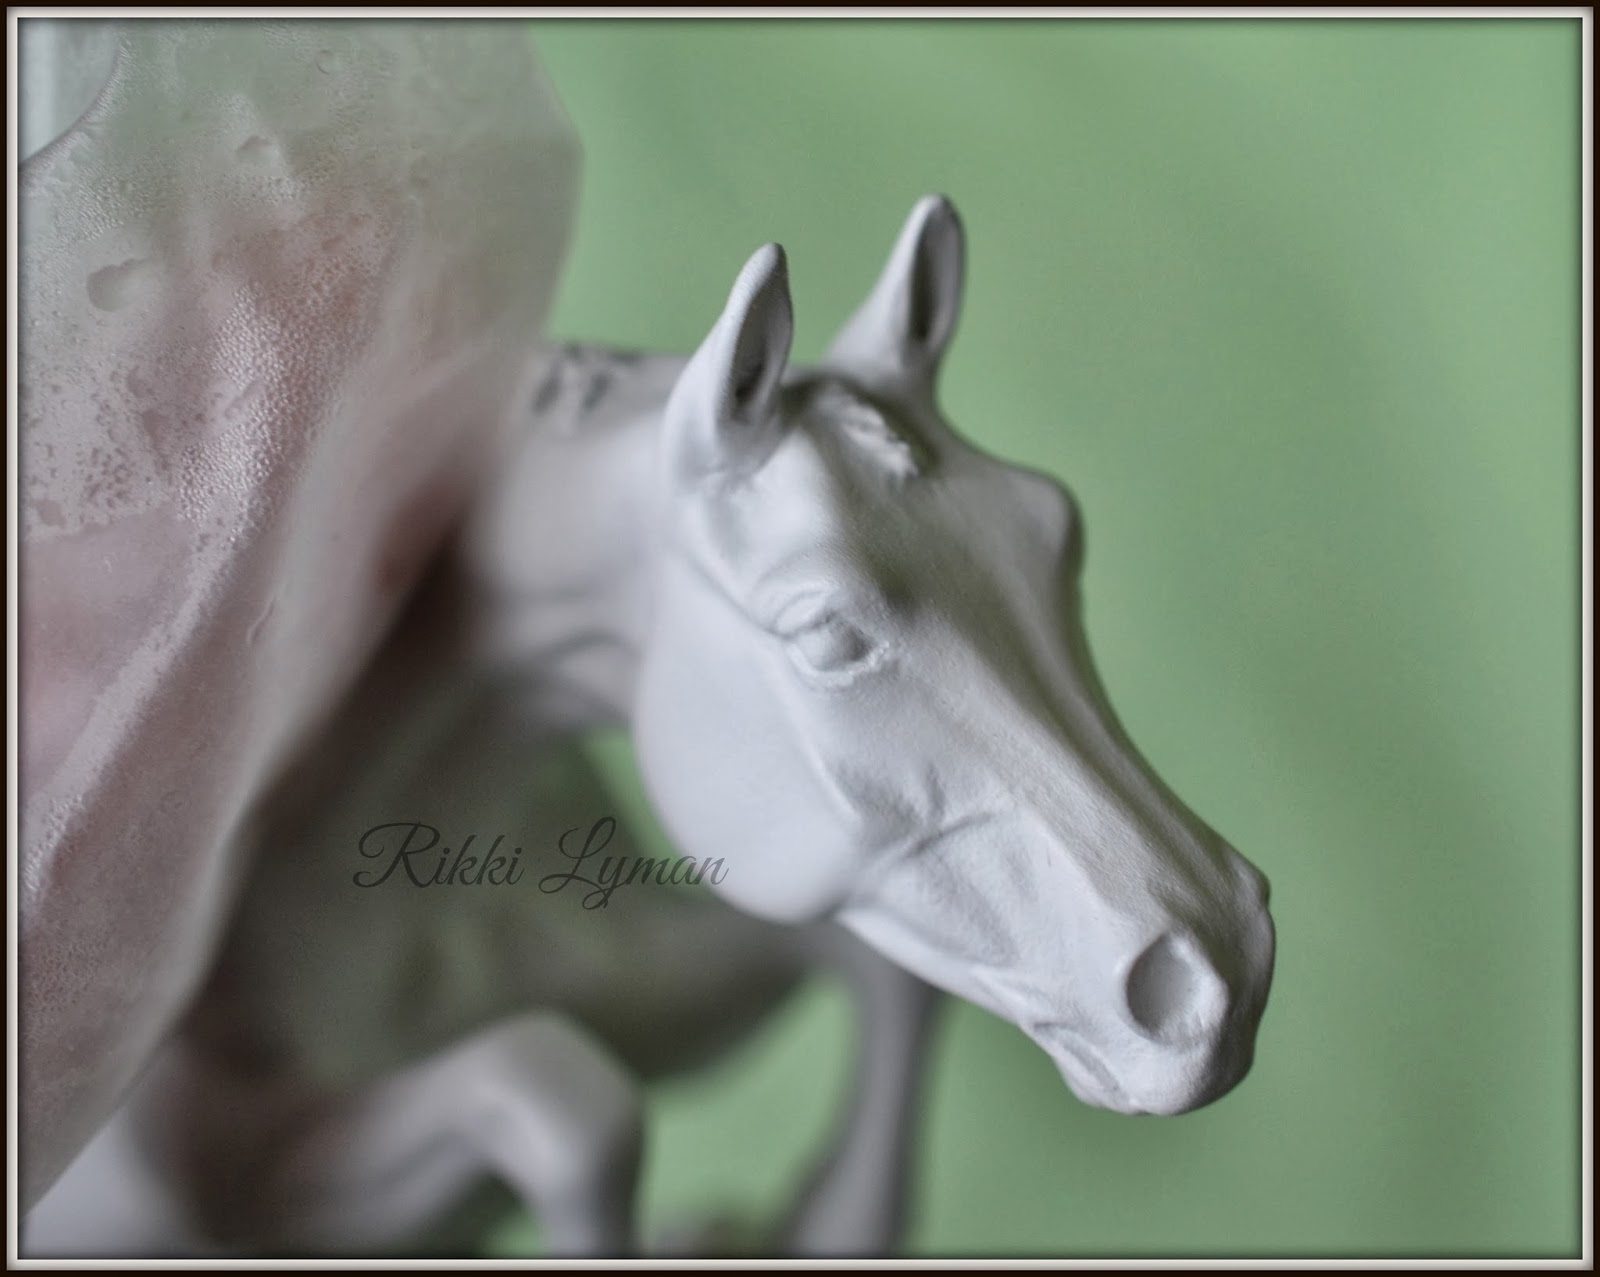
Refined ear work started

New Tail* hole drilled for coated wire/ & or stainless.

 The before photo* later sculpted and carved new even hooves, bulbs, added shoes.

A quick visual compare* :D loving it*

 Added more sculpt then trimmed back some to get some flowing effects in the tail.

Tools Used

 Tools Used, including band aids. ouch!

Extreme Justice 1 sculpture

 Extreme Justice 1 sculpture

Yes, math did play a role in this*
 
*The Finished Results*


Billie is in the process of giving this weej an awesome detailed finished paint work, maybe I can talk her into sharing here? :)


Saturday, November 23, 2013

Poses The Noses


The original model horse nose :(

 Gather your REAL references by photo or in life*
 

Just checking, not this real!!! Although noses vary.


The tools I use to get the job done.


Now for the fun part!!
Elimination of the malformed factory nose/muzzle.

Wear your protection; goggles, mask, & gloves.


Looking Debonair*


Pose The Nose :O) 


Sunday, November 17, 2013

A New Pony

A new kids Quarter Pony Custom Sculpture inspired from my Son's 4-H group, these ponies love their little riders.


The victim (model horse)

Reference Photo for pose.  Thank You Jennifer* please visit Jennifer~

Finished re-sculpt ready for paint.

The other finished side 

 The carnage begins 


Drill holes to insert sturdy wire.

 
Roughing out the surface where work is to be performed.  Easier for apoxies and glue mixtures to stick without separation. 


The two ends attached with super glue, baking soda, and sturdy coated wire.
 

Find the correct position before you start adding more baking soda and glue to seal the deal. 


Plastic dust!! wear your protection, eye goggles, breathing mask & gloves!!


Old muscling removed.  Surface roughed up/ scored.

The sculpt fill, some supplies used.

Was not happy with first apoxy application.

Sanded down to re-start

:) happy moment* 


Plugging in the muscling 

Blending

Sanding...there is a lot more of this.


more sanding...

Inspection

muscling the inside leg

upper leg muscling sculpted in

More Refinement

First coat (light spray) of primer. Pleased to say there was no anomalies found!! This does not happen often*

:) Happy Dance 
 
 The End
 
Now for the coat color?  Sherryyyy....